Tuesday, April 19, 2011

Handsewn Gold Rush Tent

I admit it.  I bought a HUGE wall tent when I started going to Civil War events.  It was even nicknamed "The Miller Mansion."  Not only was it a pain to set up with a system of bolted 2 x 4's, side wall posts, ropes, and spikes, it took up a lot of space in storage and in the car to events.  This would not do.  

Fast forward a few years and Ian and I had the idea to make our own tent for Gold Rush events, since the wall tent was just too big and not appropriate for the time period we were using it for.   Friends of ours had sewn their own, so they were also a source of inspiration for the project. We looked at original images and sketches and designed our own. 
"View of Agua Fria Valley" Source: Bancroft Library
We bought canvas from the local fabric store and cut the fabric into the width that was commonly used for canvas manufacturing in the 1840s. We used twine to sew the seams with a simple running stitch.  We ended up needing more canvas than we had calculated for and ended up buying some unbleached heavy cotton to complete the final strip in the tent peak.  This actually worked perfectly since it is a thinner fabric, it almost acts as a skylight to illuminate the interior of the tent!  A friend of ours cut a ridge pole and two supports from some saplings (instead of the horrible cut lumber I had for the wall tent), which really completes the whole tent. 
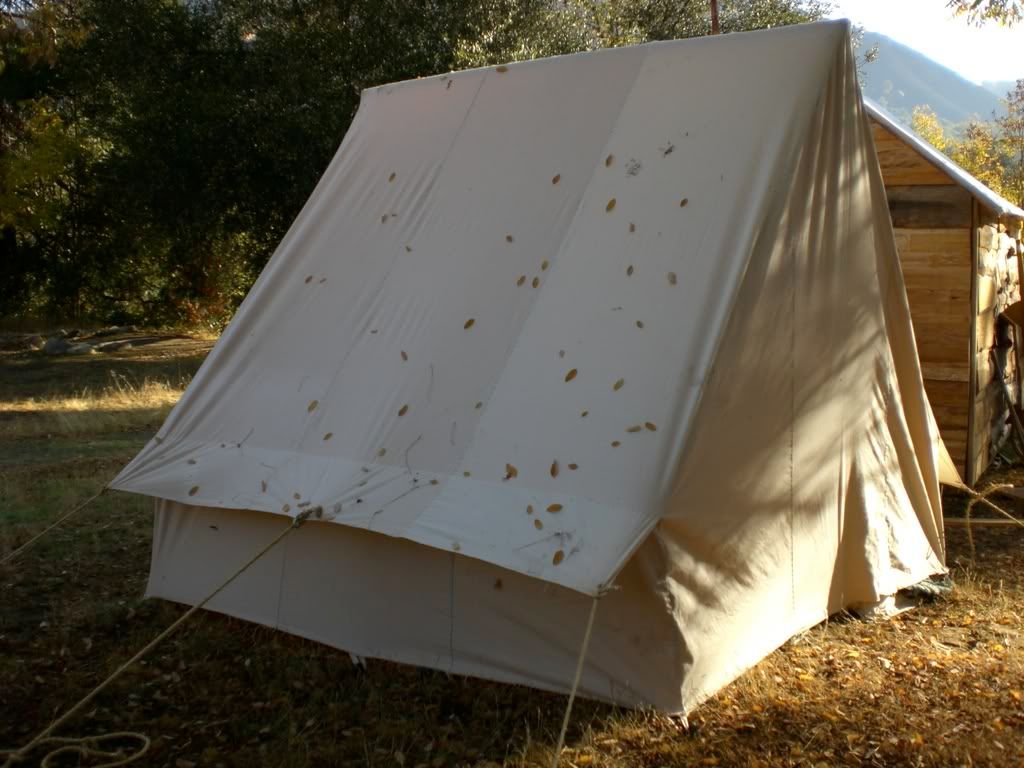
Back and side view
Front view, other handsewn tents in background.


Overall, it was a fun project and something that we will get years of use out of.

Tuesday, April 12, 2011

Past Patterns Fan-Front Bodice

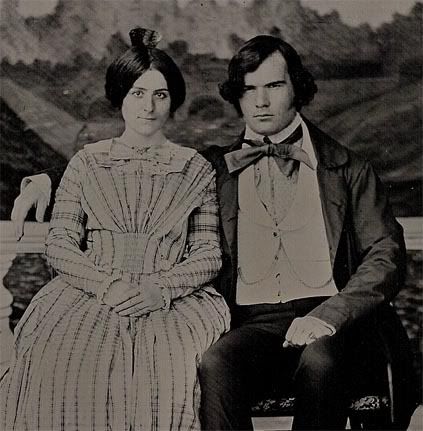
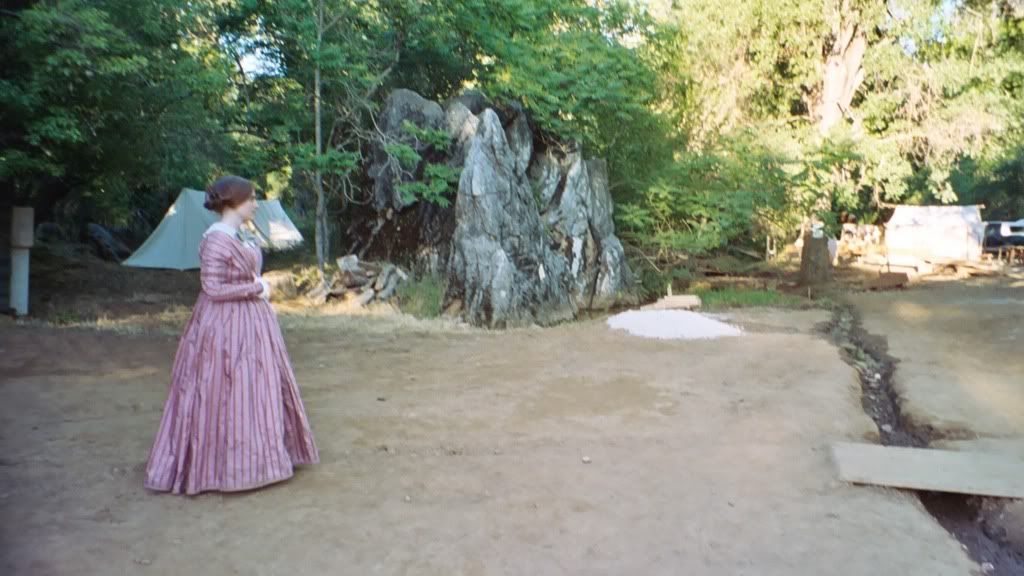
Ian and I met at Columbia State Historic Park at a Gold Rush living history event, so we decided to have our picture taken for our one-year anniversary at the same event.  For this special occasion I decided to make a silk dress with the Past Pattern Fan-Front Bodice pattern with some silk I bought in the LA fashion district. The interior is lined with white cotton and is boned at the front and side seams.  I made pleated linen cuffs and a ladies cravat in a different silk plaid. I also have a ladies watch on a chain, a paste brooch, tortoise hair comb, and gold hoop earrings (that my hair is covering).  It's all about the accessories!  Ian even has a pinky ring on!

2006 Columbia Diggins Event.  Posed copied from an original dag.
The only digitized color picture of the dress.
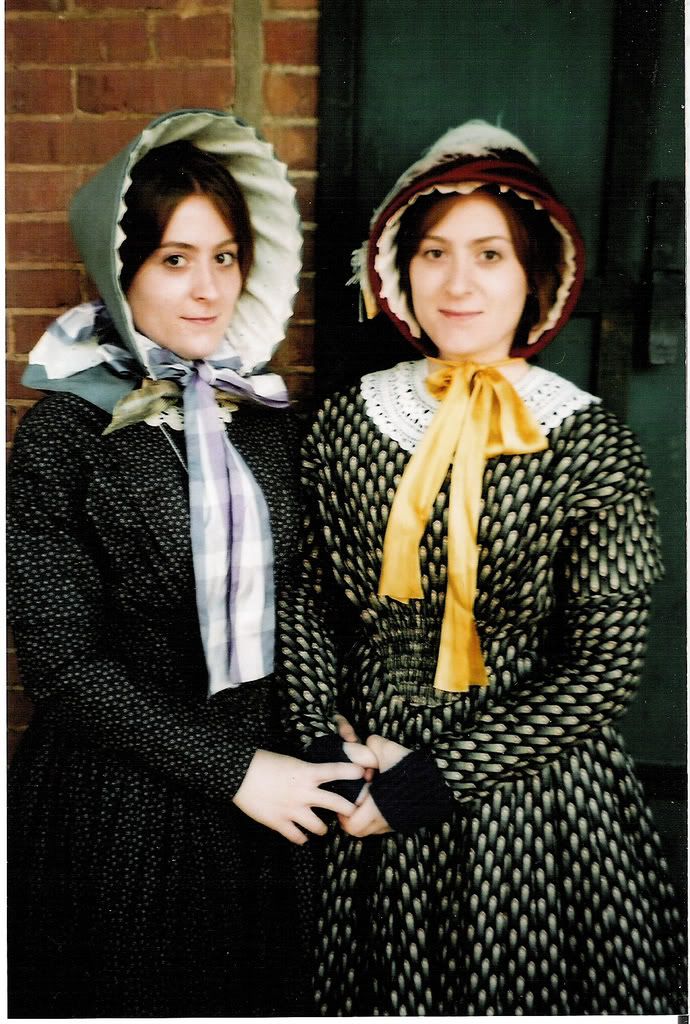
I have used this same pattern multiple times with reproduction cotton prints and have been pleased with them each time.  If I make another, I think I will bring up the armscye a bit, since they are fairly dropped on this pattern, and maybe play around with the point to come farther down and take up the sides.

I'm on the left and my twin sister is on the right.

Tuesday, April 5, 2011

1840s Silk Bonnet

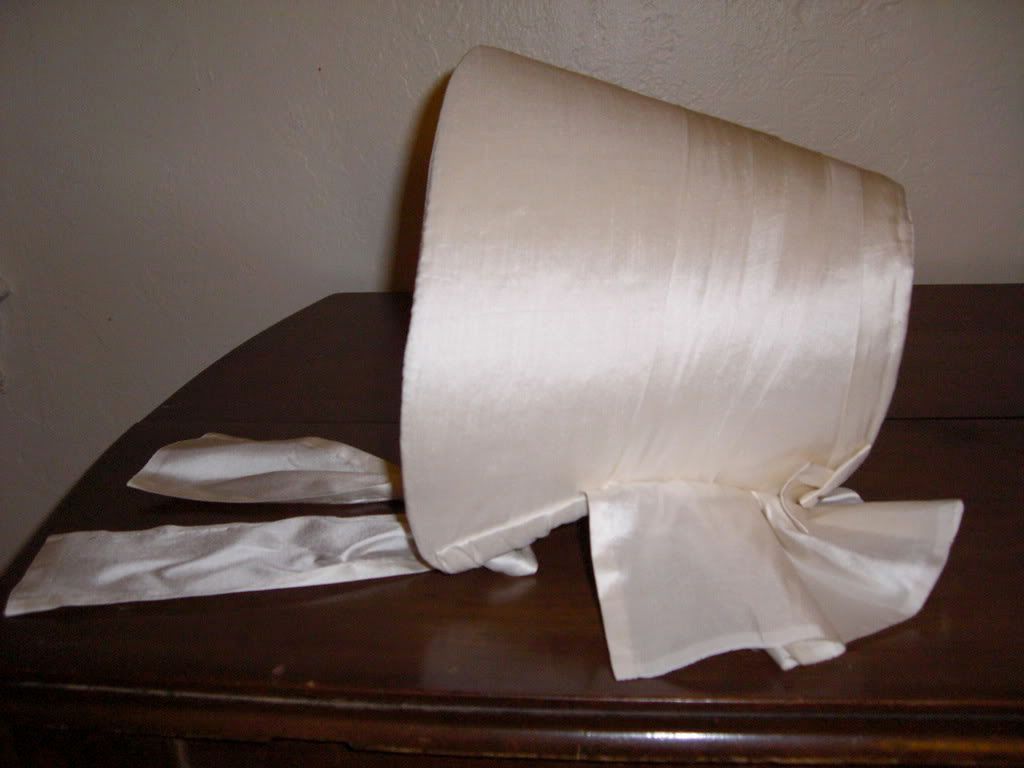
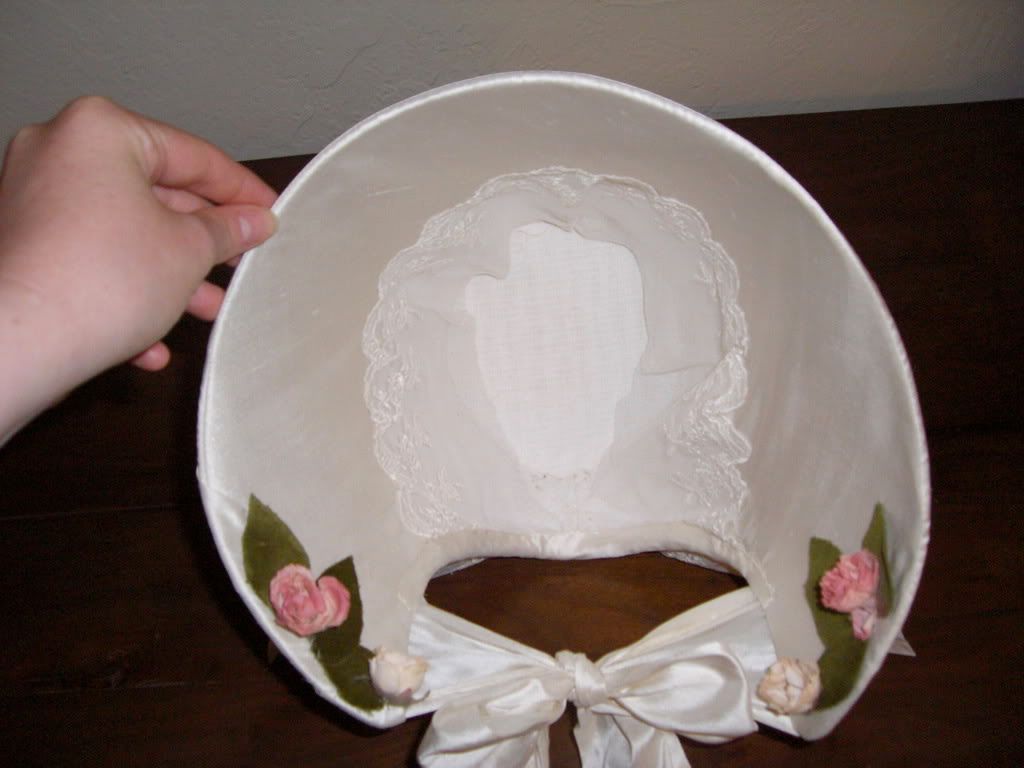
I minored in Theater Arts at Humboldt State University and one of the first class I took was millinery. Covering buckrum forms in class (I made a top hat!) gave me plenty of practice for creating my own bonnets at home. I made this particular bonnet in 2007 or 2008 from the Miller's Millinery Round Cottage Bonnet Pattern #9101 (late 1840s-early 1850s) with a cream colored silk.  The leaves are cut from cotton velveteen and the flowers are paper.
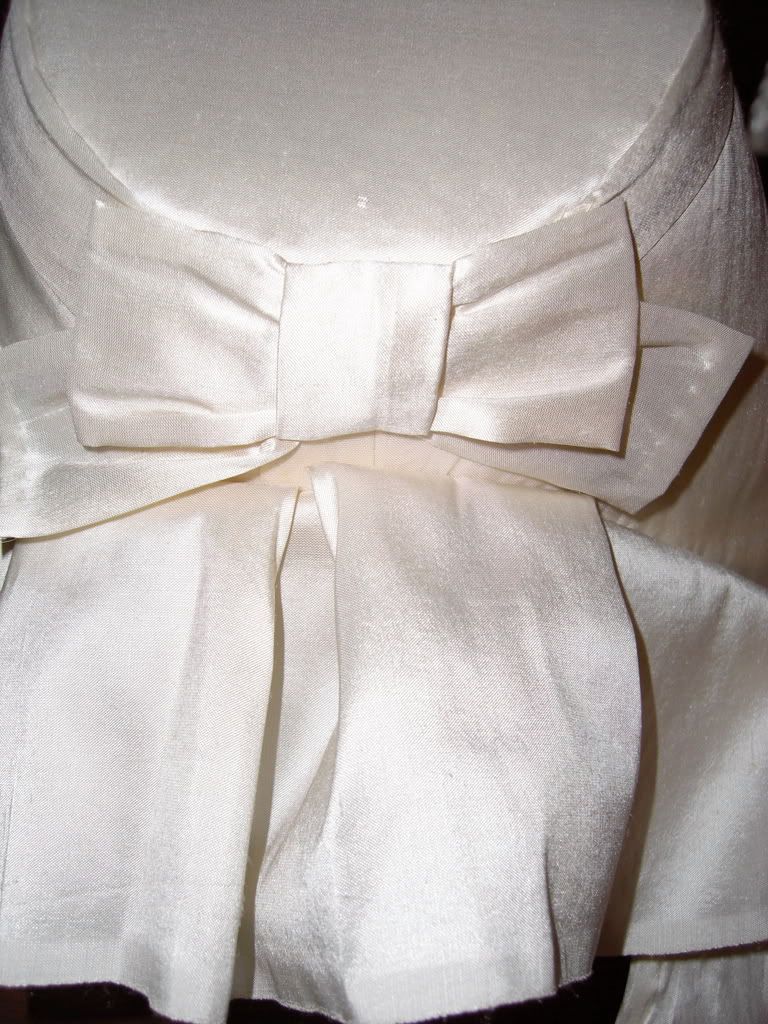
Self-fabric ties and decorative trim across the crown.
Bavolet and decorative bow coped from an original.

Interior netting grips hair to prevent slipping backwards.


I look like a jerk in the one picture I have of me in this bonnet that I would rather not share... I want to re-trim the bonnet like the one above with some very similar flowers to the dag above that Ian bought me at Nancy's Sewing Basket in Seattle.

Sunday, March 20, 2011

Simplicity 7215 Corset Pattern

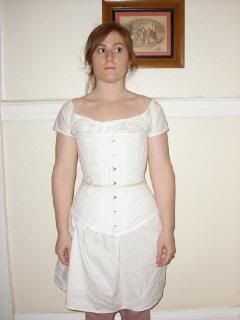
This is my modified version of the 7215 Simplicity corset pattern made of a single layer coutil from Sac City Drygoods. I'm going for an 1840s "coffee can" silhouette with this one so I modified the boning placement, gusset placement, shortened the height of the back, shaped the front edges, and made it two sizes smaller than my previous version.


Front view and wearing a Elizabeth Stewart Clark pattern chemise:

I'm very happy about the spring in the back being even the entire length:

Thursday, March 17, 2011

1840s Theme Wedding - The Details

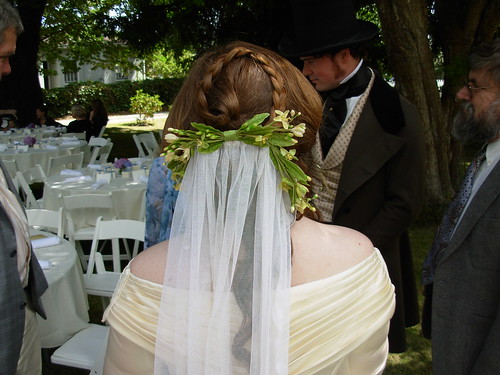
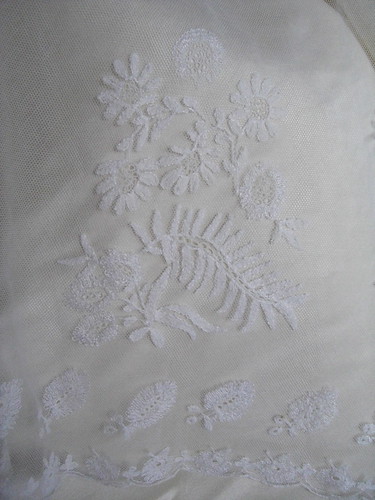
For me, the accessories really made this dress come together.  I made an orange blossom hair piece from a kit I ordered and attached a mid-19th century embroidered bonnet veil that I bought off ebay.  I had to soak the veil in Biz a number of times to bring it's beauty back.  
View of orange blossoms
It was a labor of love to get it this white!
I had a pair of custom made silk satin slippers made by Robert Land and then decorated the edges with pleated ribbon.

Robert Land Slippers
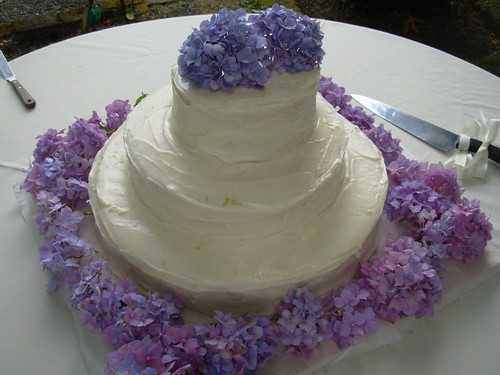
Oh yeah, and I also made our wedding cake from an 1840s recipe the day before the wedding!  (Not for the faint of heart).
Everyone raved about the cake.  Some people had a third piece!
We rented out a Gothic Revival bed & breakfast for the weekend for the wedding and reception that was built in 1854, which the town of Ferndale was named after.
The Shaw House, 1854.

And to top it all off, my engagement/wedding ring is from the 1840s.  We might be a little obsessed with this decade...
It's prettier in person, trust me.

1840s Theme Wedding - The Dress

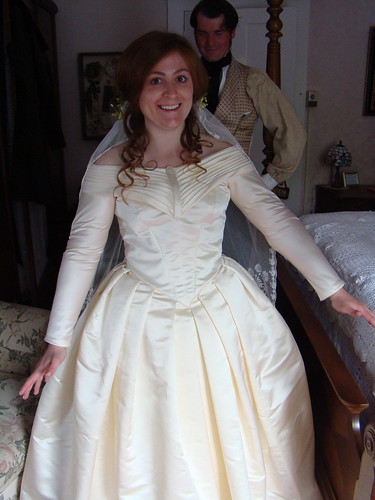
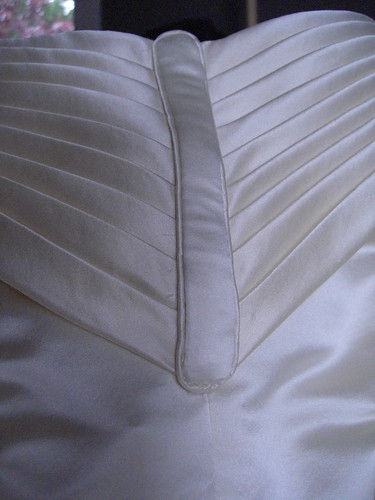
Our wedding theme was the 1840s since Ian and I first met at a Gold Rush living history event, so we thought it would be a great idea.  The first dress I drew inspiration was from the Tasha Tudor collection.  I copied the pleated bertha with 9 pleats on the front and back, as well as the shaped piped lozenges to cover the seams.  The second dress I took inspiration from the long sleeves and the skirt pleating that meets in the front.  I loved the idea of a pelerine but it wasn't suitable for a summer garden wedding.
Tasha Tudor dress
1840s Satin Wedding Dress with Swans Down Pelerine


My 1840s Wedding Dress
Close up of pleated bertha
The material is a hard backed 100% silk duchess ivory satin that I bought from a shop in the LA Garment District.  The bodice pattern went through so many changes that I don't even remember what I used as a starting point! For the skirt support I wore my corded petticoat, a tucked petticoat, and a plain petticoat (all with yoked waistbands).  
Mr. Rochester and his Mustard Seed

Up next...accessories!

Monday, March 7, 2011

Past Pattern's Single Breasted Vest

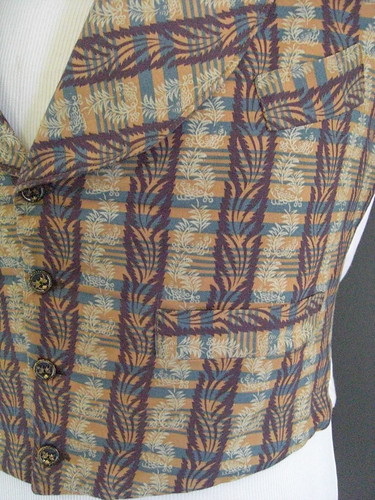
When Ian and I first started dating in June 2005 I wanted to make him something, even if he already made all of own clothes.  I purchased this reproduction fabric and original buttons and made the vest from the Past Patterns Single Breasted Vest with shawl collar.  The back is white polished cotton and the inside is lined in plain white cotton.  I topped stitched the shawl collar and armscyes.  I'm not thrilled about the width of the pocket welts now knowing they should be narrower, but I think it's a good first attempt  This was my first and only foray into men's clothing since Ian's sewing / tailoring skills put my work to shame!
 
Front 
Detail view of top stitching
Now I'm just waiting for Ian to make me something. . .